
Last updated November 15, 2026
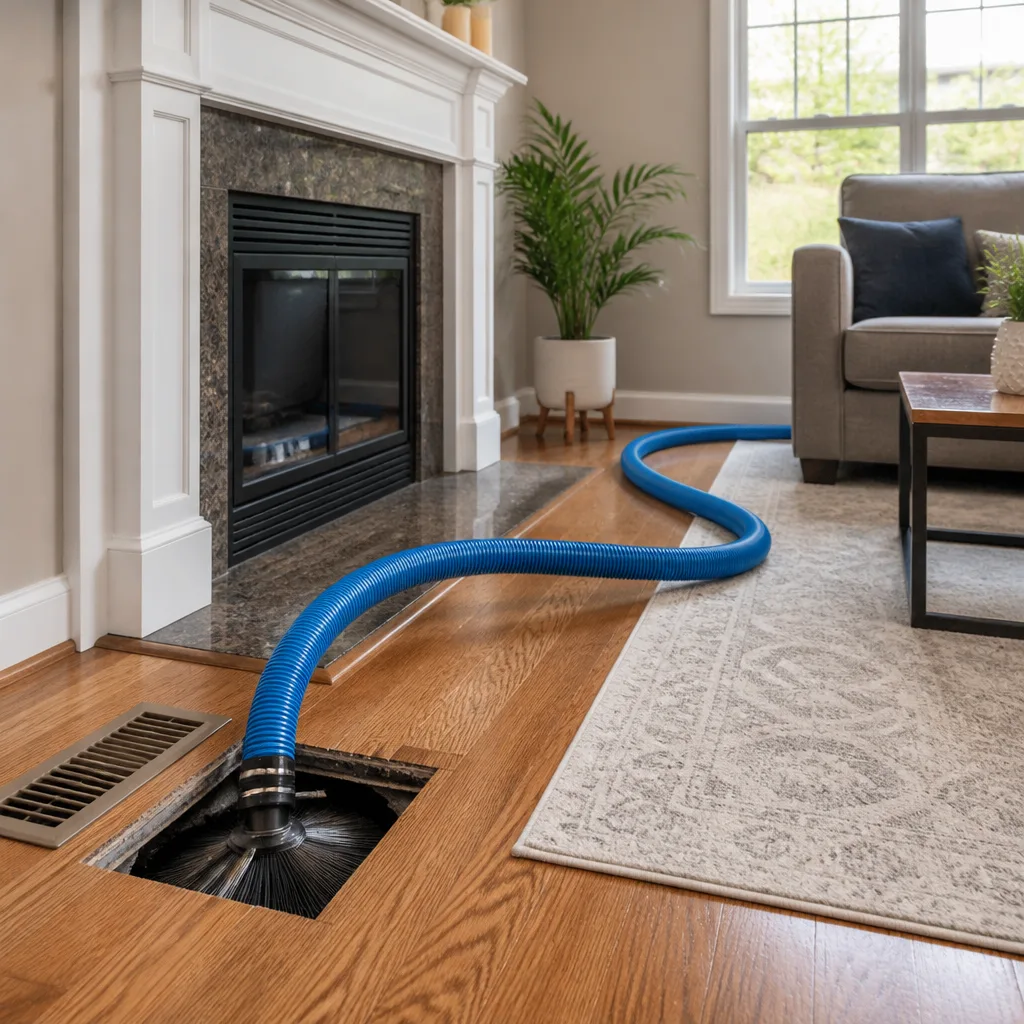 Whole-home duct cleaning
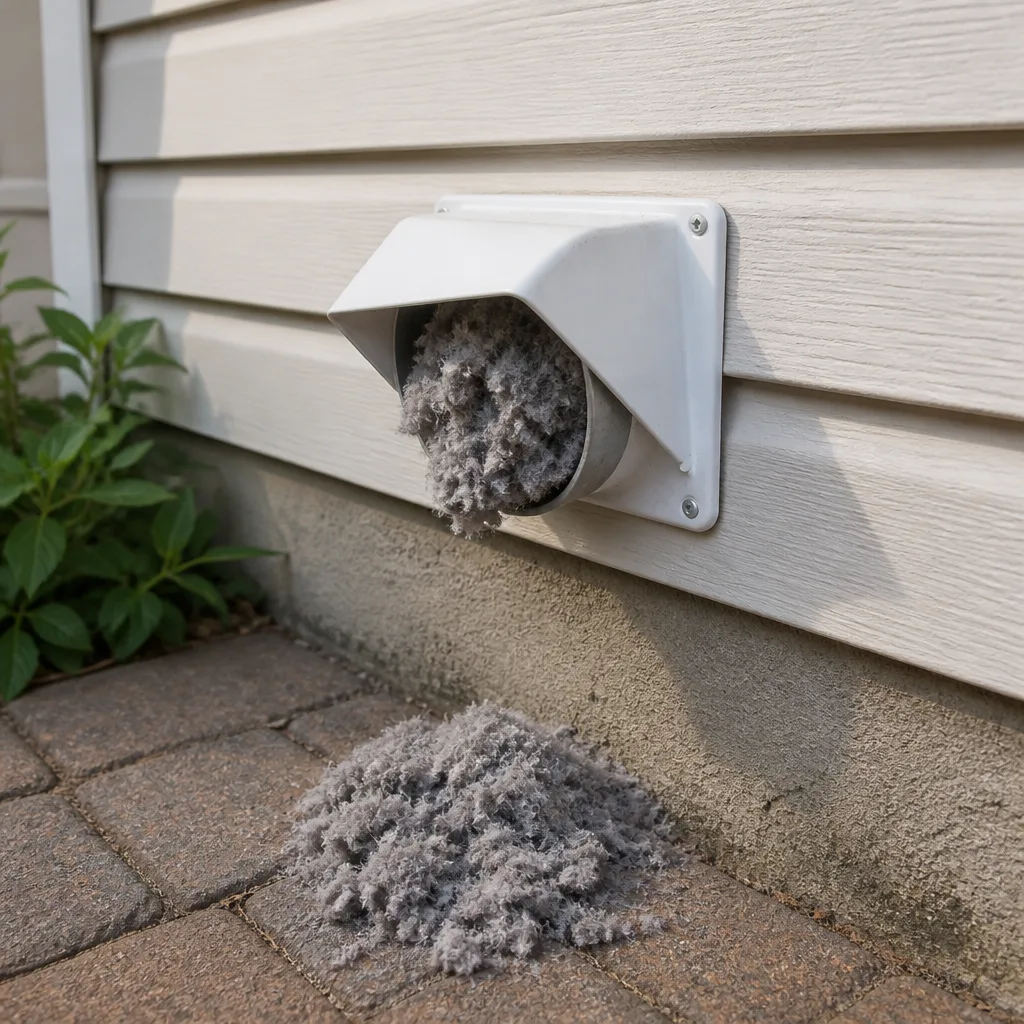 Dryer vent cleaning
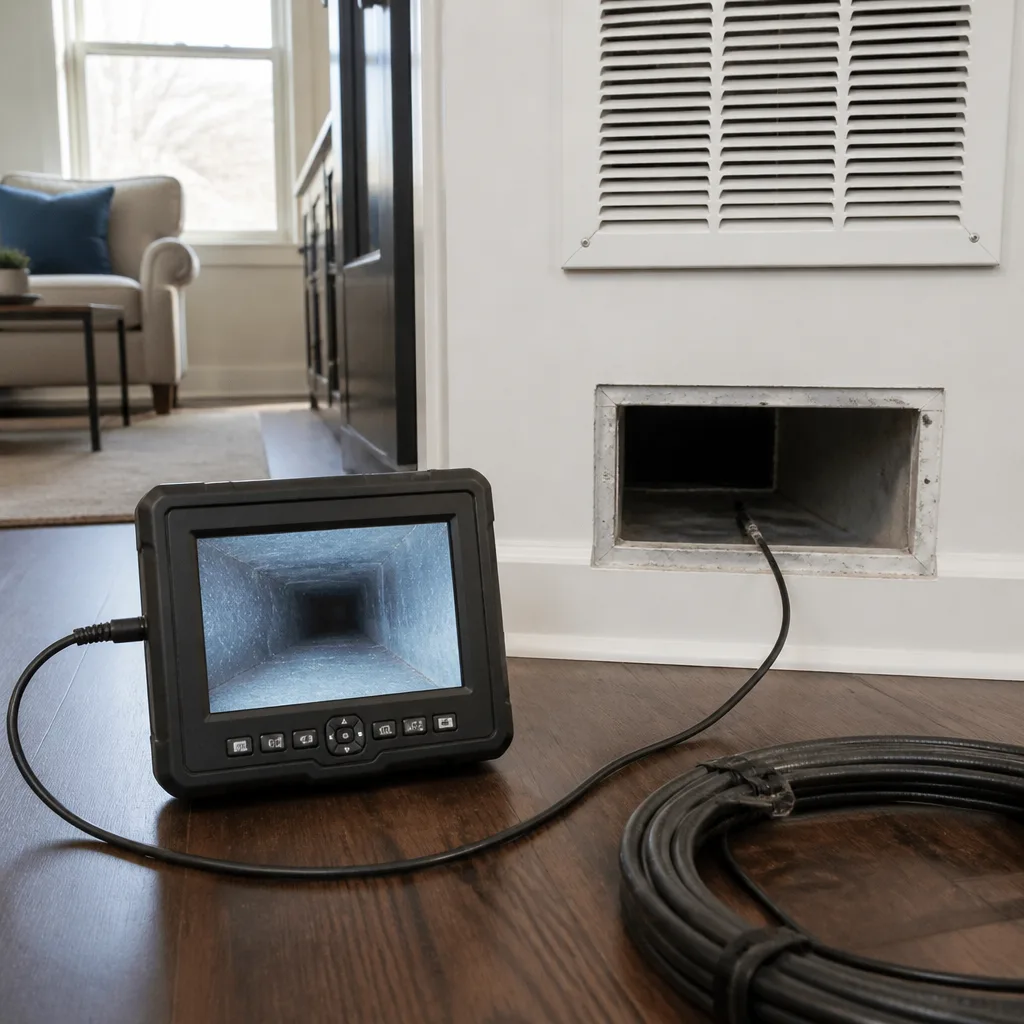 Camera inspection
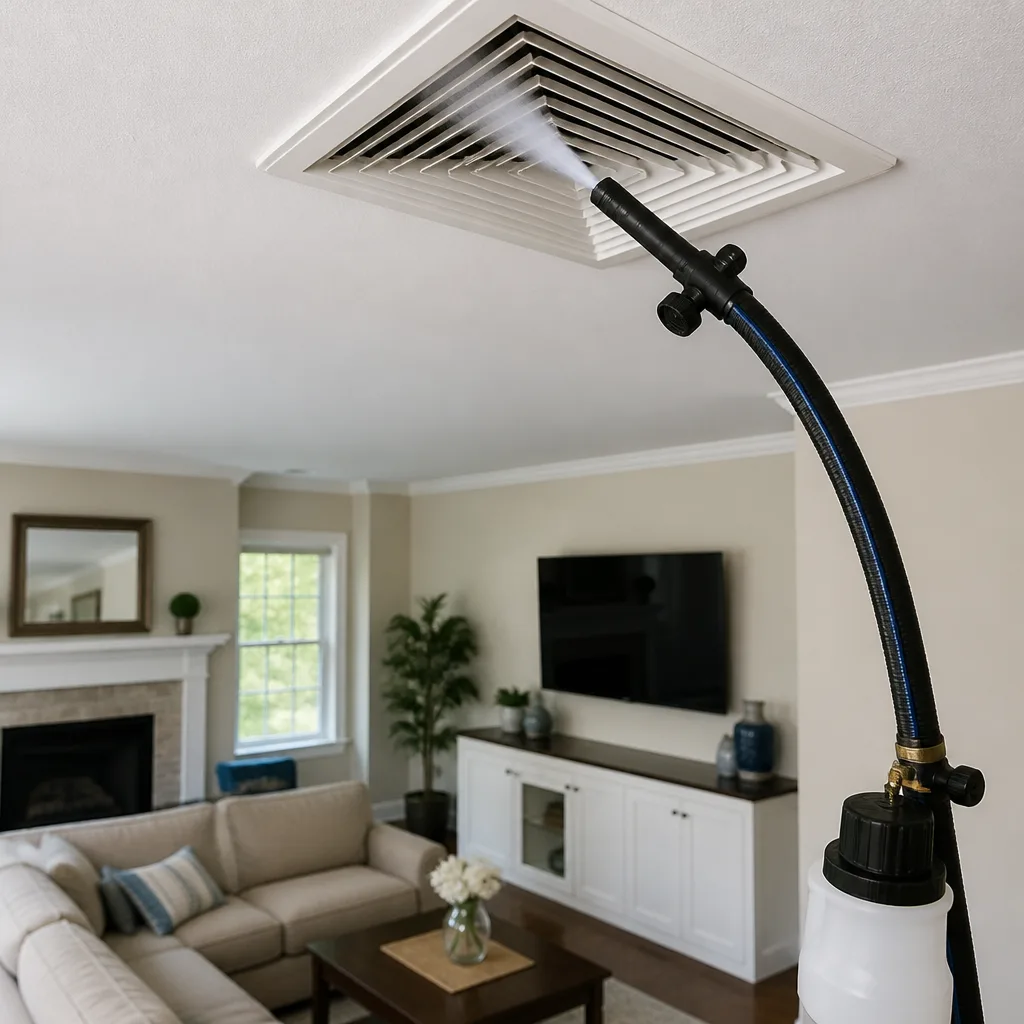 Sanitizing & deodorizing
Whole-system duct and dryer vent check with before-and-after photos - you see exactly what came out of your vents
That "$99 whole-house special" is a bait ad - the real number appears once they are in your hallway, or the "clean" is a shop-vac at the register. We photograph the inside of your ducts before and after instead.
Air Duct Repair Maintenance Checklist for Gresham Homeowners
Most homeowners think of ductwork as a cleaning problem. It’s usually a repair problem first. A disconnected joint or a torn flex run in a crawl space will pull unfiltered crawl-space air into a freshly cleaned system within a single heating season, and the dust comes back. In our experience across Gresham homes, the pre-2000 housing stock is where these defects show up most often, because the duct layouts were built around crawl spaces and attics that shift, settle, and take on moisture. This guide walks you through a repair-first maintenance checklist: what to inspect, how to find the leaks that visual checks miss, how long each duct material actually lasts, and when repair beats replacement. You’ll finish with a maintenance schedule tied to real system events instead of an arbitrary annual habit.
Quick Answer
A working air duct maintenance checklist for Gresham homes covers three things: a seasonal visual inspection of accessible duct runs for disconnected joints, crushed flex, and moisture staining; a leakage test (Duct Blaster or equivalent) rather than eyeballing alone; and repair of every defect before any cleaning happens. Maintenance intervals should follow system events – an HVAC replacement, a renovation, a wildfire smoke season – rather than a fixed calendar. Cleaning a system with open leaks simply resets the clock on the same problem.
Styles & brands we work with
- Whole-home duct cleaning
- Dryer vent cleaning
- Camera inspection
- Sanitizing & deodorizing
Table of Contents
- Why Repair Comes Before Cleaning
- The Gresham Inspection Checklist: Crawl Spaces and Attics
- Finding Duct Leaks: Duct Blaster vs. Visual Inspection
- Duct Lifespan Benchmarks: Flex, Sheet Metal, and Duct Board
- Mastic vs. Foil Tape: What Holds Up in Gresham
- Maintenance Intervals Tied to System Events
- Repair or Replace? How to Decide
- Dryer Vent: The Other Duct in Your House
- Common Mistakes to Avoid
- When to Call a Professional
- Frequently Asked Questions
- The Bottom Line
Why Repair Comes Before Cleaning
Air duct cleaning removes what’s inside the ducts. It doesn’t fix what’s wrong with the ducts themselves. Those are two separate jobs, and the order matters. When a return run is disconnected in a crawl space, the system pulls air from the crawl space instead of from the living room. That air carries soil, fiberglass dust, and moisture. You can clean the supply side of that system thoroughly and the contamination returns the first cold snap, because the gap is still open.
This is the core reason we lead with repair rather than cleaning. In Gresham, a lot of the housing was built with duct runs suspended under the floor in vented crawl spaces. Those runs move with the soil and the framing, and flexible connections at the plenum and at branch takeoffs are where separation happens first. The ducts themselves are rarely the problem. The connections are.
Here’s the practical sequence we follow on any system that hasn’t been looked at in a while:
- Walk the accessible system and note every defect: disconnected joints, torn flex jacket, crushed runs, missing registers, water staining.
- Test for leakage so you know the size of the problem, not just its location.
- Repair everything that’s failing.
- Clean the system only after the envelope is sealed.
- Re-test if the repair was substantial, so you have a baseline for next time.
When you reverse steps three and four, you pay for cleaning twice. That’s the mistake this guide exists to prevent.
The Gresham Inspection Checklist: Crawl Spaces and Attics
Gresham’s split between crawl-space and attic duct runs means your inspection has to cover two very different environments. Crawl spaces here tend to run damp in the wet months. Attics run hot and cold and take on condensation at the duct jacket when the seasons turn. Each produces its own failure pattern, and each has specific things to look for.
Crawl-space runs
- Look for separation at the plenum connection and at every branch takeoff. Flex duct pulled off a collar is the single most common defect we find.
- Check the vapor barrier under the ducts. Torn or missing ground cover is a moisture source feeding the whole crawl space.
- Look for water staining or dark rings on the duct jacket. That’s a moisture-intrusion indicator, not a cleaning issue.
- Check for sagging runs and sharp bends. Flex duct crushed past about a 90-degree turn or drooping between supports restricts airflow and collects debris at the low point.
- Look for pest damage at the duct jacket and at the crawl-space vents.
Attic runs
- Check the duct insulation and jacket for condensation staining and for jacket tears that expose the inner liner.
- Look at how the runs are supported. Straps that have failed let the duct rest on the trusses or on the ceiling joists, crushing it.
- Check the connection at the air handler and at the register boots for gaps and pulled tape.
- Note any run passing through an unconditioned attic without insulation. That’s a heat-gain and condensation problem, not a cleaning problem.
Write down what you find with locations, not just “ducts need attention.” A crawl space that’s been under a house since before 2000 will have several items on this list, and being able to point a technician at them shortens the visit and the estimate.
Finding Duct Leaks: Duct Blaster vs. Visual Inspection
Visual inspection finds the obvious defects. It does not find the small ones, and in ductwork the small ones add up. A Duct Blaster test pressurizes the duct system with a calibrated fan and measures how much air escapes at a given pressure. That gives you a number: how leaky the system is. Visual inspection gives you a list of places to look. You need both.
The reason the measurement matters is that a duct system can look tight at every joint you can see and still lose a substantial share of its air through gaps hidden behind framing, above insulation, or at the air handler cabinet itself. Those hidden leaks don’t show up on a walkthrough. A pressure test finds them.
When we run a leakage test on a Gresham home, we combine it with visual findings so the report makes sense to the homeowner:
- Seal the registers and connect the test fan at the air handler or at a return.
- Pressurize the system and record the leakage at the target test pressure.
- Walk the accessible system with the fan running and feel for the leaks the test flagged – a smoke pencil helps here.
- Mark and photograph each leak location before repair.
- Re-test after sealing to confirm the leakage actually dropped.
That last step is the one that separates a real repair from a promise. If nobody re-tests, nobody knows whether the mastic stuck or whether a joint pulled loose again in a week. The professional-grade equipment we carry, including Rotobrush and Nikro systems, is built for both diagnosis and the cleaning done after the envelope is sealed.
Duct Lifespan Benchmarks: Flex, Sheet Metal, and Duct Board
Knowing how long each duct material should last tells you whether a defect is worth repairing or whether the run is at the end of its service life. These are working benchmarks, not warranties, because installation quality and the crawl space environment shorten or extend every one of them.
- Flexible duct: roughly 10 to 15 years in a vented crawl space. The jacket is the weak point; UV exposure, pest damage, and repeated moisture cycling all shorten it. When flex is torn in multiple places on the same run, we generally replace the run rather than patch it.
- Sheet metal: 20 to 30 years or more when it’s sealed and supported properly. Galvanized metal doesn’t degrade the way flex jacket does, but joints and seams work loose over decades of thermal cycling. Most sheet-metal problems are joint problems, not metal problems.
- Duct board: 15 to 20 years in a dry, protected location. Duct board degrades fast when it gets wet. Staining or soft spots on the board mean the material is failing, and sealing it just traps moisture inside the board.
The repair-versus-replace decision follows from these benchmarks. A single disconnected flex joint on a 6-year-old run is a repair. A 14-year-old flex run with three tears, a crushed elbow, and water staining is a replacement. Duct board with visible moisture damage is always a replacement, because the material has already lost its structure.
If you’re unsure which material you have, check the run at a register boot. Flex is a silver jacket over a wire helix. Sheet metal is rigid with seams. Duct board is rigid but cuts like dense cardboard and has a foil or matte face.
Mastic vs. Foil Tape: What Holds Up in Gresham
Mastic sealant holds up in Gresham’s temperature swings. Foil tape fails. That’s the short version, and it’s worth understanding why, because almost every disconnected joint we find in a Gresham crawl space has old tape at the point of failure.
Duct tape – the fabric kind – is the wrong product and always has been. It dries out, loses adhesion, and peels off. Foil tape with an acrylic adhesive is a genuine step up, but it’s still an adhesive joint. In a crawl space that goes from cold and damp in winter to warm and dry in summer, the differential movement between duct sections works any adhesive loose over time. The adhesive dries, the edge lifts, and the joint separates.
Mastic is a brushed or troweled sealant that bonds to the duct surface and cures into a flexible, permanent seal. It fills gaps rather than bridging them. It’s the standard for a reason: it survives movement, it survives moisture, and it doesn’t peel. The trade-off is that it has to be applied to a clean, dry surface and it has to cure before the system runs.
How this plays out in a repair:
- Mastic: use it at plenum connections, branch takeoffs, register boots, and every sheet-metal seam. This is where you want a permanent seal.
- Foil tape: acceptable only as a temporary measure or on a joint that also gets mastic. It is not a repair on its own.
- Fabric duct tape: never. If you find it on your system, treat it as a defect to be replaced.
The repair-capable part of the job matters here. If your contractor can only clean and hand you a report, the tape stays. We repair the joint on the spot so the next crawl-space walk finds a seal instead of a lifted edge.
Maintenance Intervals Tied to System Events
The annual duct cleaning reminder ignores how duct systems actually get dirty. Contamination comes from events: a renovation that pushes drywall dust through the return, an HVAC replacement that disturbs the joints, a wildfire smoke season. If none of those happened, your system is probably not due. If two of them happened in one year, you’re overdue.
Use system events as your trigger points:
- HVAC replacement or major repair. Inspect and test within the first month. Connections at the air handler and plenum are the most likely to be disturbed during the swap. Seal and clean if debris moved through.
- Renovation. Any work that opens walls, ceilings, or floors sends fine dust into the return. Inspect after the work, clean when drywall dust has settled.
- Wildfire smoke season. Gresham sees smoke from regional fires in late summer some years. Smoke doesn’t dirty ducts the way drywall dust does, but it loads filters and stresses the system. Check filters and inspect the accessible runs after a heavy smoke event.
- Moving into a home you didn’t build. You don’t know the system’s history. One inspection gives you a baseline.
- Any new allergy or respiratory complaint that correlates with the HVAC running. That’s a signal to inspect, not necessarily to clean.
Outside those events, an inspection every two to three years is plenty. Between inspections, change filters on the manufacturer’s schedule and keep the crawl space dry. That’s most of the maintenance.
If you’re not sure where your system stands, a baseline inspection is the best $0 you’ll spend. We give free estimates on duct repair and cleaning in Gresham, and the estimate comes with the inspection findings written down.
Repair or Replace? How to Decide
Repair the run when the defect is isolated and the material is sound. Replace it when the defect is one of several on the same run, when the material has taken on moisture, or when the run is at the end of its service life. That’s the decision framework, and it’s usually clear once you’ve inspected and tested.
Three factors decide it:
- Number of defects per run. One or two isolated issues is a repair. Three or more on the same run, and replacement costs less over the next decade than repeated fixes.
- Material condition. Flex jacket that’s brittle, duct board with soft spots, or metal with heavy corrosion is finished. Repair on a failing material doesn’t hold.
- Access. A branch in a tight crawl space that has to be torn open for repair may be cheaper to run new than to fix in place. A skilled technician quotes both and lets the numbers decide.
For Gresham homes, the most common repair is a re-sealed flex connection at a branch takeoff. The most common replacement is a full flex run in a wet crawl space that’s been patched once already. Both are routine, and both are jobs we do on the spot rather than scheduling a return visit.
Dryer Vent: The Other Duct in Your House
Dryer ducts are the most overlooked part of a home’s duct maintenance checklist, and they carry more risk than the HVAC ducts do. A dryer vent clogged with lint is a fire hazard, and the lint that builds up on the interior of the vent is exactly where the ignition happens. Dryer manufacturers specify vent cleaning, and the reason is safety, not air quality.
What to check on your dryer vent:
- The run length and number of elbows. Long runs with multiple bends collect lint faster and are harder to clean.
- The exterior termination. A flapper that doesn’t open freely or a screen that clogs means the vent isn’t exhausting.
- The transition duct behind the dryer. Crushed or kinked flexible transition hose is a common restriction point.
- Any smell of overheating or a dryer that takes noticeably longer to finish a load.
We offer dryer vent cleaning as a standalone service because it’s a different job from HVAC work and because the risk is different. One call covers cleaning, repair, and dryer vent safety, which means you don’t have to line up three contractors for one house.
See the difference
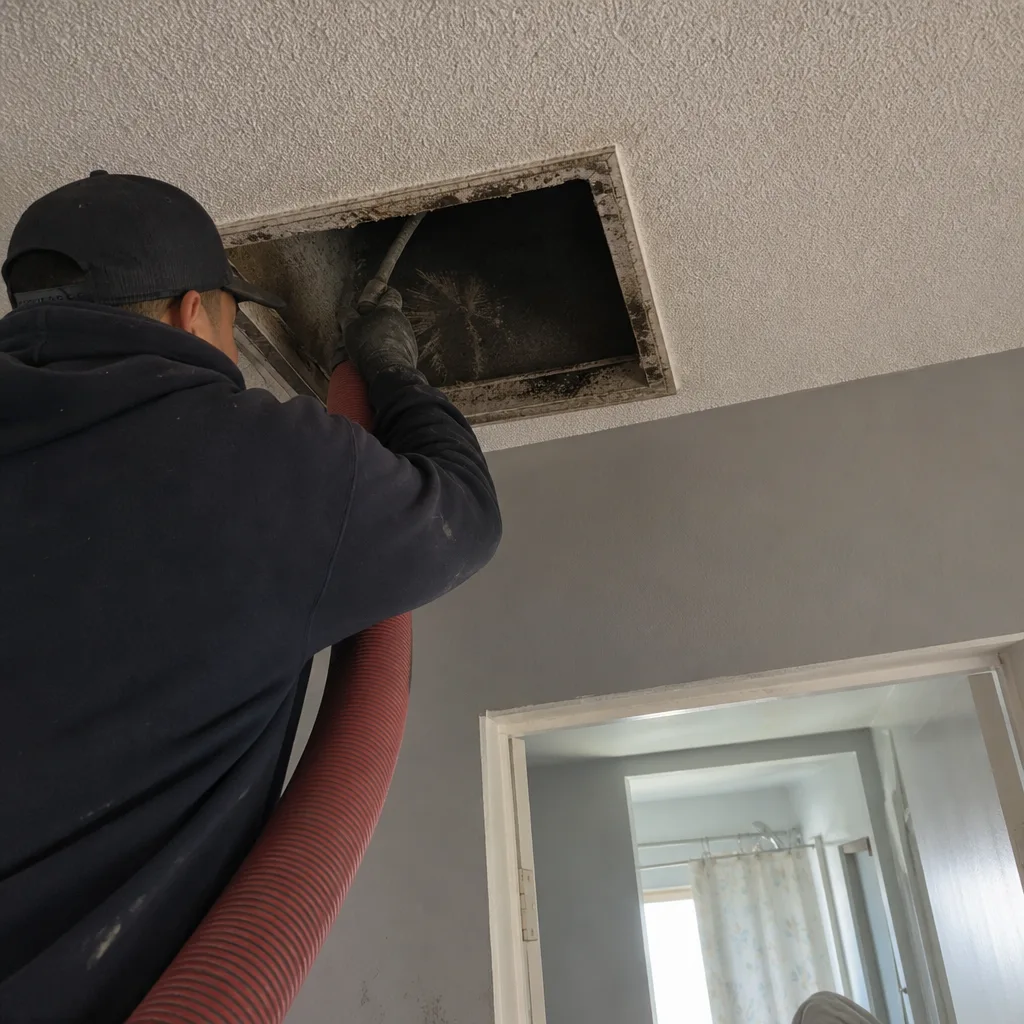 Before
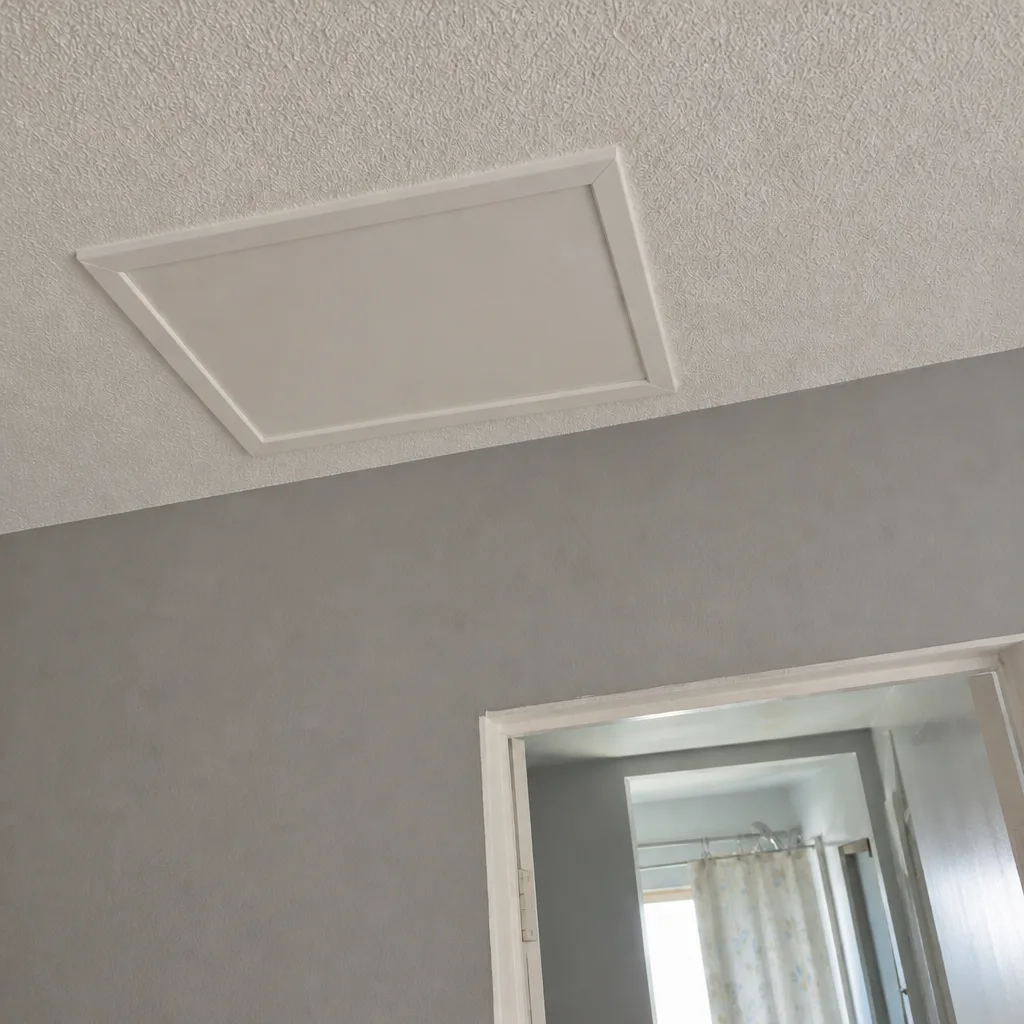 After
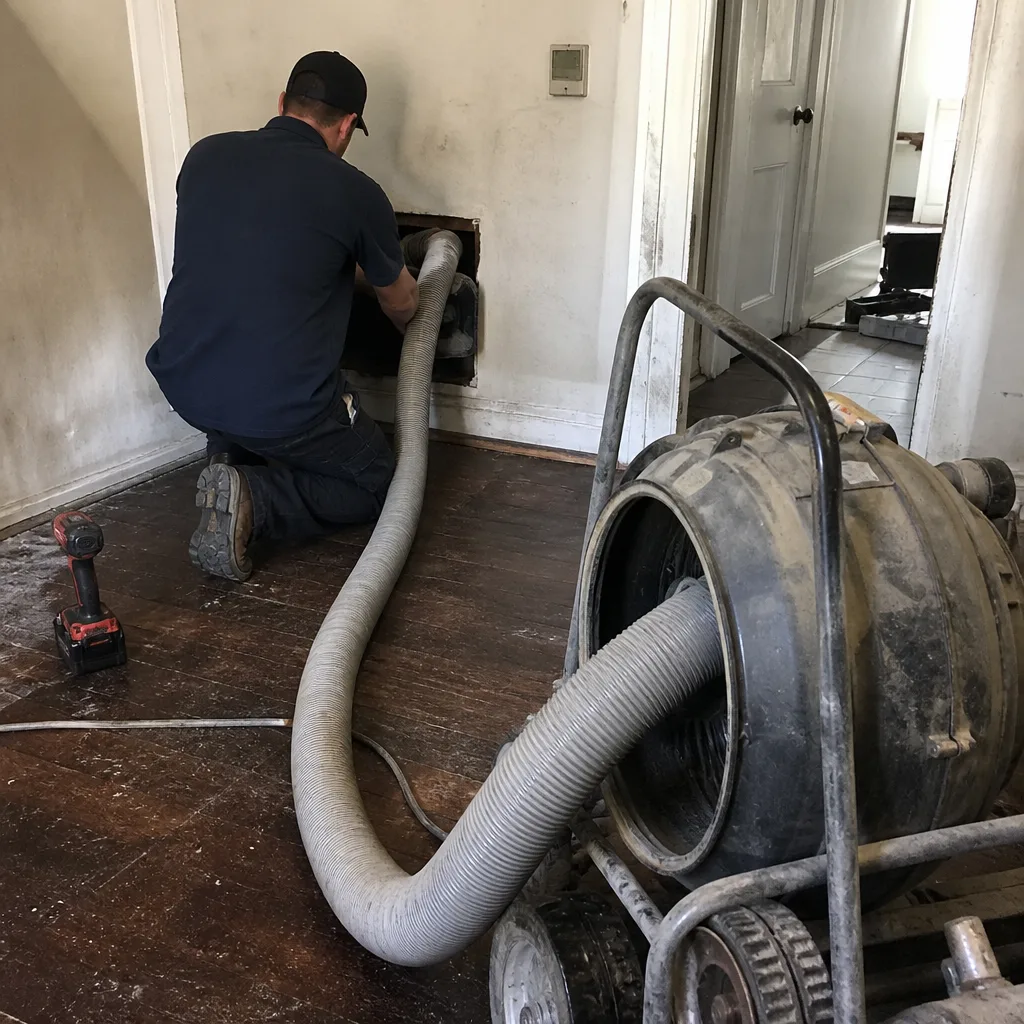 Before
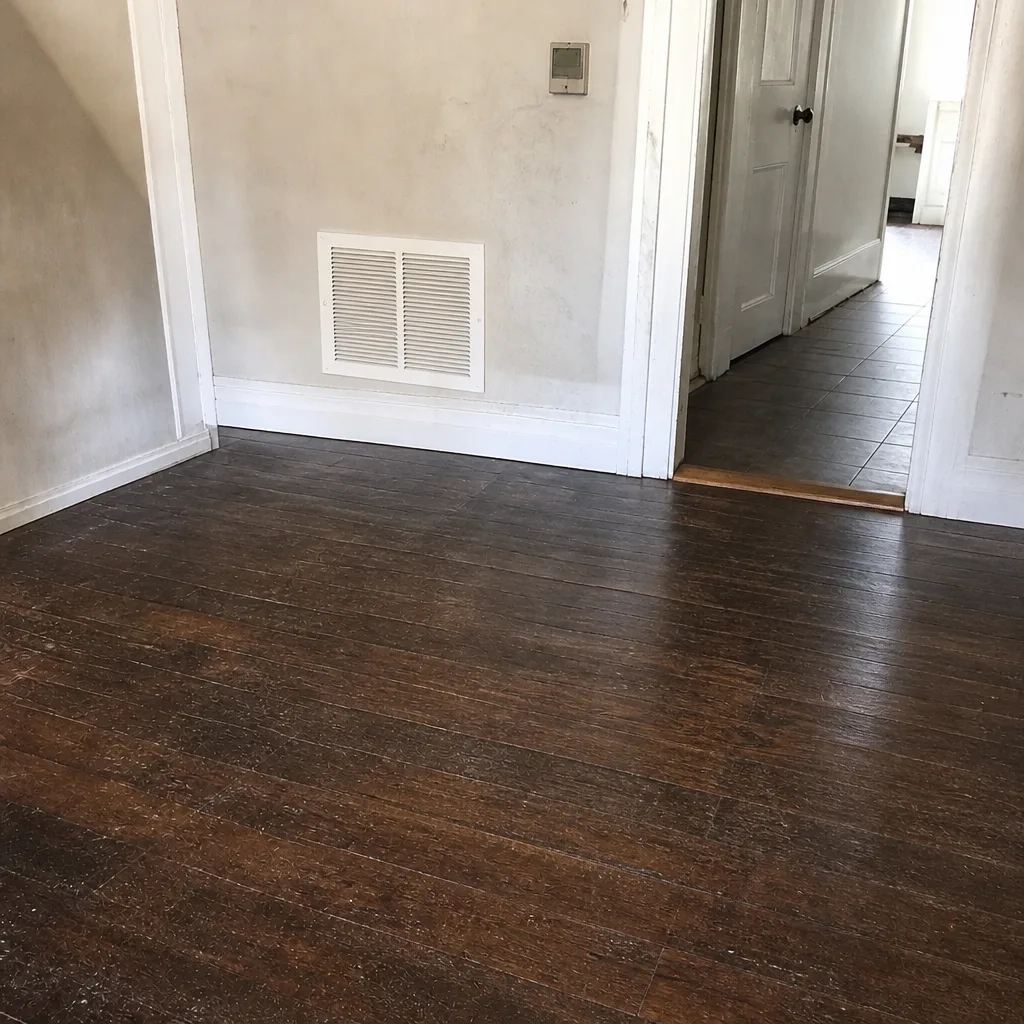 After
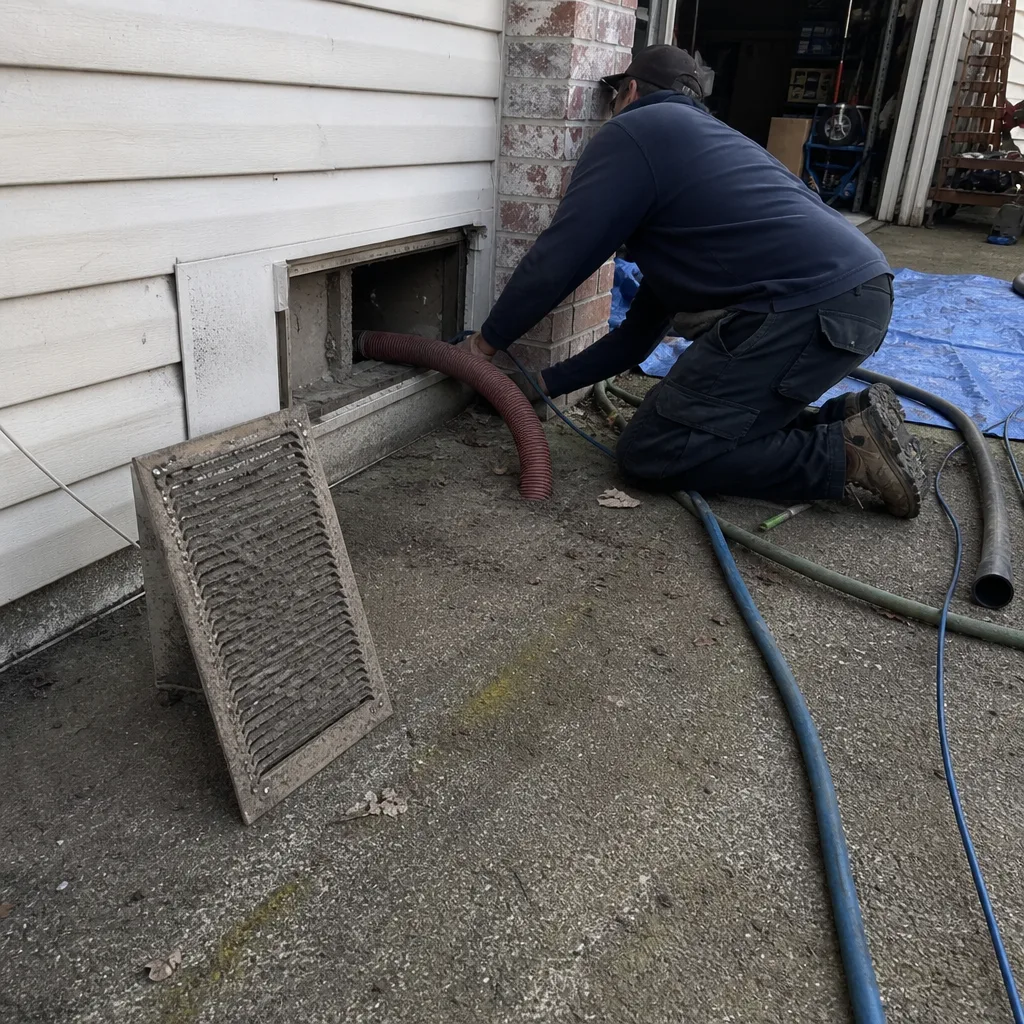 Before
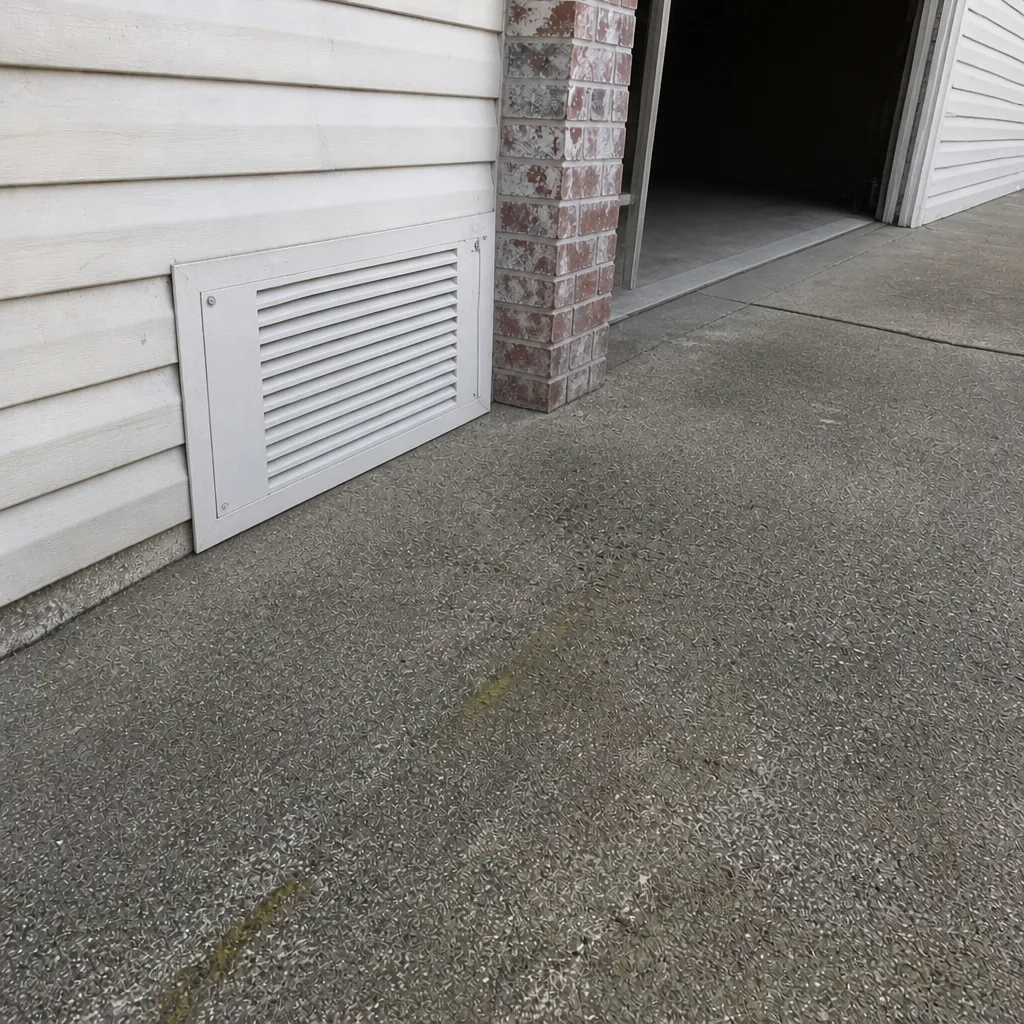 After
Common Mistakes to Avoid
- Cleaning before repairing. A system with an open joint re-contaminates. Clean after the seal, not before. This is the mistake that costs homeowners the most in Gresham.
- Relying on visual inspection alone. Hidden leaks behind framing and above insulation don’t show up on a walkthrough. A pressure test finds them.
- Re-taping with fabric duct tape. It fails in one season. Mastic is the standard for a reason, and a taped joint that lifts is a defect you’ll pay for twice.
- Following an arbitrary annual cleaning schedule. If no renovation, HVAC replacement, or smoke event happened, the system probably isn’t due. Match the interval to the event, not the calendar.
- Ignoring moisture in the crawl space. A torn vapor barrier and a wet foundation feed the ducts. Sealing the ducts without fixing the moisture source just traps the problem.
- Patching a run that’s reached the end of its life. Flex past 15 years with multiple tears is a replacement. Patching extends the problem, not the system.
- Skipping the dryer vent. It’s a fire-safety item, and it’s easy to forget because it’s not part of the HVAC system. Check it on the same interval as the HVAC inspection.
When to Call a Professional
Call when you find a disconnected joint you can’t re-seal with confidence, when a test shows leakage you can’t locate by eye, when the duct material has taken on moisture, or when the dryer vent is long, elbow-heavy, or hasn’t been cleaned in years. Call too if you’re selling a home and need a written baseline of the duct system’s condition. Duct work involves crawl spaces, confined attics, and the air handler cabinet – a trained technician with the right equipment is a shorter path than a homeowner with a flashlight and a roll of tape. Duct Cleaning Gresham offers free estimates in Gresham. Call (844) 523-1942. We answer 24/7. Fast dispatch from 7am to 7pm, Sunday through Friday.
Frequently Asked Questions
Most Gresham homes need duct cleaning after a system event (an HVAC replacement, a renovation, a heavy wildfire smoke season) rather than on a fixed annual schedule. Outside those events, an inspection every two to three years is enough. Call (844) 523-1942 for an exact quote on your system; estimates are free.
Duct cleaning removes contamination from inside the ducts. Duct repair seals the defects that let unfiltered air in: disconnected joints, torn flex jacket, crushed runs, failed seams. Cleaning without repair resets the clock on the same contamination, which is why we inspect and repair first.
Visual inspection finds obvious separation at joints and collars, but hidden leaks behind framing or above insulation only show up on a pressure test. A Duct Blaster test measures how much air escapes and re-tests after repair to confirm the fix. If your energy bills climbed or certain rooms stay stuffy, ask for a leakage test on the next visit.
Mastic is the right product for Gresham’s temperature swings. Fabric duct tape dries out and peels; foil tape with acrylic adhesive is better but still fails under repeated movement. Mastic bonds and cures into a permanent seal at plenum connections, branch takeoffs, and register boots.
Flexible duct generally lasts about 10 to 15 years in a vented crawl space. The jacket is the weak point; UV, pest damage, and moisture cycling shorten its life. If a flex run has three or more defects, replace it rather than patch it.
Yes, when the repair is accessible and the equipment is on hand. The professional-grade systems we carry (Rotobrush, Nikro) handle the cleaning side after the envelope is sealed. Call (844) 523-1942 for an exact quote – estimates are free.
The Bottom Line
A duct maintenance checklist that starts with cleaning gets the order wrong. Start with inspection, use a leakage test to find what your eyes miss, repair the defects before any cleaning, and match the maintenance interval to system events instead of the calendar. For Gresham homeowners, the crawl-space and attic runs built into pre-2000 housing are where most defects live, and mastic is the seal that holds up to the local swings. One call covers cleaning, repair, and dryer vent safety, so you don’t have to coordinate three contractors. If you’d rather have a technician walk the system and write it down, we offer free estimates. Call (844) 523-1942. We answer 24/7. Fast dispatch from 7am to 7pm, Sunday through Friday.
Written by the team at Duct Cleaning Gresham.